Are you ready to give your walls a fresh, new look? Plastering is a timeless technique that can add texture, depth, and character to any room. But before you start hammering away with a trowel, it's essential to know the basics. In this comprehensive guide, we'll walk you through the 15 steps of plastering a wall like a pro.
Step 1: Prepare the Area
Before applying plaster, make sure your wall is clean and free of any debris, dust, or grease. Cover the floor and surrounding surfaces with drop cloths to prevent damage. If you're working on a textured ceiling, use a wire brush to remove any cobwebs or loose particles.
Step 2: Mix the Plaster
In a large bucket, combine one part plaster powder with two parts water. Stir the mixture thoroughly until it reaches a smooth, creamy consistency. You can adjust the ratio of powder to water depending on your desired finish – more powder for a thicker application, less for a thinner coat.
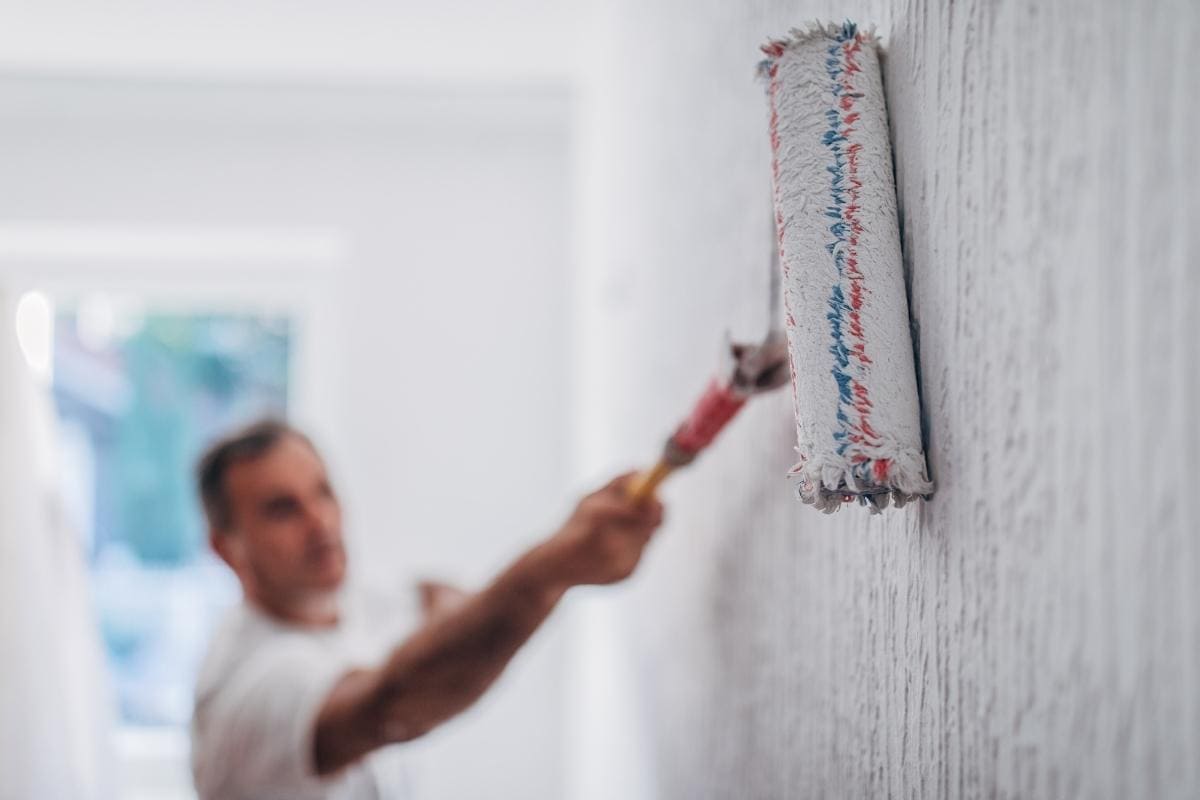
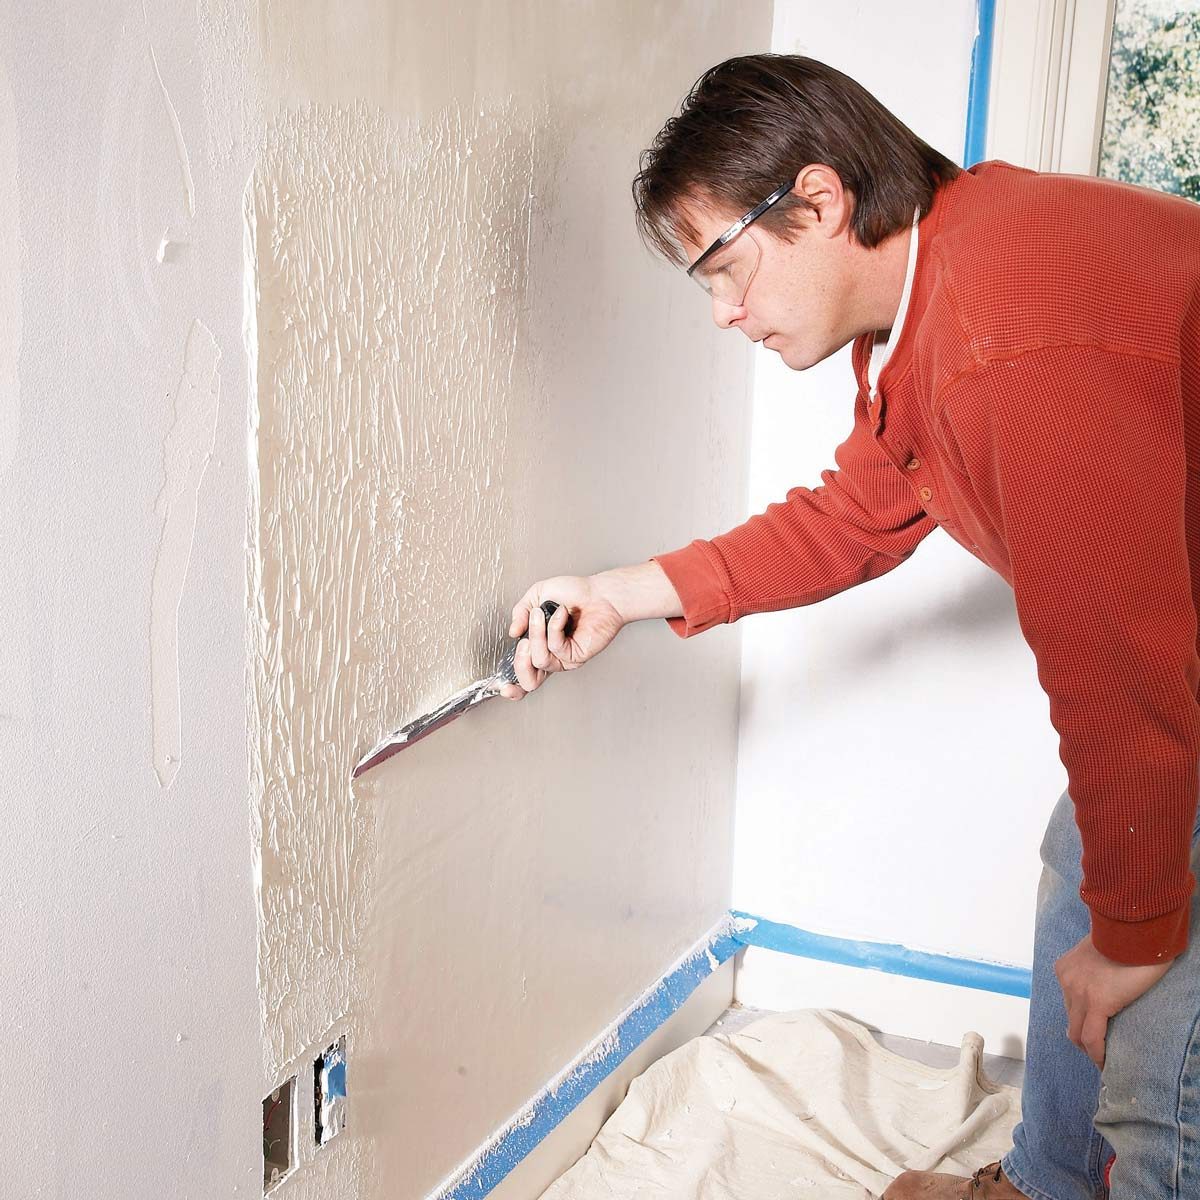
Step 3: Apply the Plaster
Dip your trowel into the mixed plaster and scoop up a small amount (about 1-2 inches deep). Hold the trowel at a 45-degree angle to the wall and apply the plaster in long, smooth strokes. Work from top to bottom, covering about 4 square feet per pass.
Step 4: Trowel the Plaster
Use your trowel to spread the plaster evenly, working it into the surface of the wall. Apply gentle pressure, feathering the edges as you go. Avoid applying too much pressure, which can create bubbles or ridges.
Step 5: Float the Plaster (optional)
If you're using a specific type of plaster that requires floating (such as lime-based or gypsum-based), apply your trowel at a 45-degree angle and work in long strokes to spread the plaster evenly. This step helps to create a smooth, even finish.
Step 6: Allow the Plaster to Set
Depending on the type of plaster you're using, allow it to set for the recommended amount of time – usually anywhere from 30 minutes to several hours. Keep an eye on the plaster as it starts to harden and lose its sheen.
Step 7: Sand the Plaster (optional)
If you want a smooth finish, use a sanding block or an orbital sander with a fine-grit sandpaper to lightly sand the plaster. Be careful not to over-sand, which can create scratches or swirl marks.
Step 8: Apply Additional Coats
Once the first coat is set, you can apply additional coats of plaster to achieve your desired thickness and finish. Repeat steps 3-6 for each subsequent coat.
Step 9: Finish with a Sealant (optional)
To protect your newly plastered wall from stains or moisture damage, apply a clear sealant according to the manufacturer's instructions.
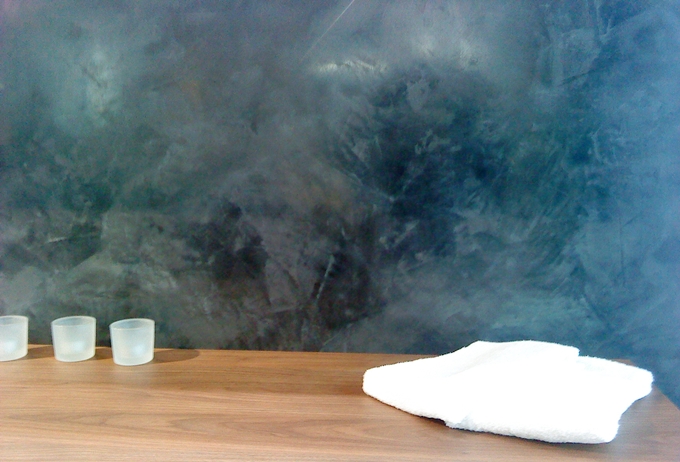
Step 10: Add Texture (optional)
For added visual interest, use a texture tool or a comb to create patterns on the plaster. You can also use a sponge or a rag to add subtle textures and shading.
Step 11: Allow the Sealant to Dry
Follow the manufacturer's instructions for drying time before using your newly plastered wall.
Step 12: Paint or Finish
Once the sealant is dry, you can paint or finish your wall as desired. Use a high-quality primer and paint to ensure a smooth, even finish.
Step 13: Clean Up
Use a damp cloth to wipe down any tools or equipment used during the plastering process. Dispose of any leftover plaster mixture responsibly.
Step 14: Touch-Up (optional)
If you notice any small imperfections or bubbles, use a putty knife or a trowel to touch up the area with a matching color of plaster.
Step 15: Stand Back and Admire
Take pride in your handiwork! Step back and admire the smooth, even finish you've achieved. With proper care and maintenance, your newly plastered wall will remain looking great for years to come.
By following these 15 steps, you'll be well on your way to becoming a master plasterer. Remember to always follow safety precautions and manufacturer instructions when working with any materials or tools. Happy plastering!

.jpg)